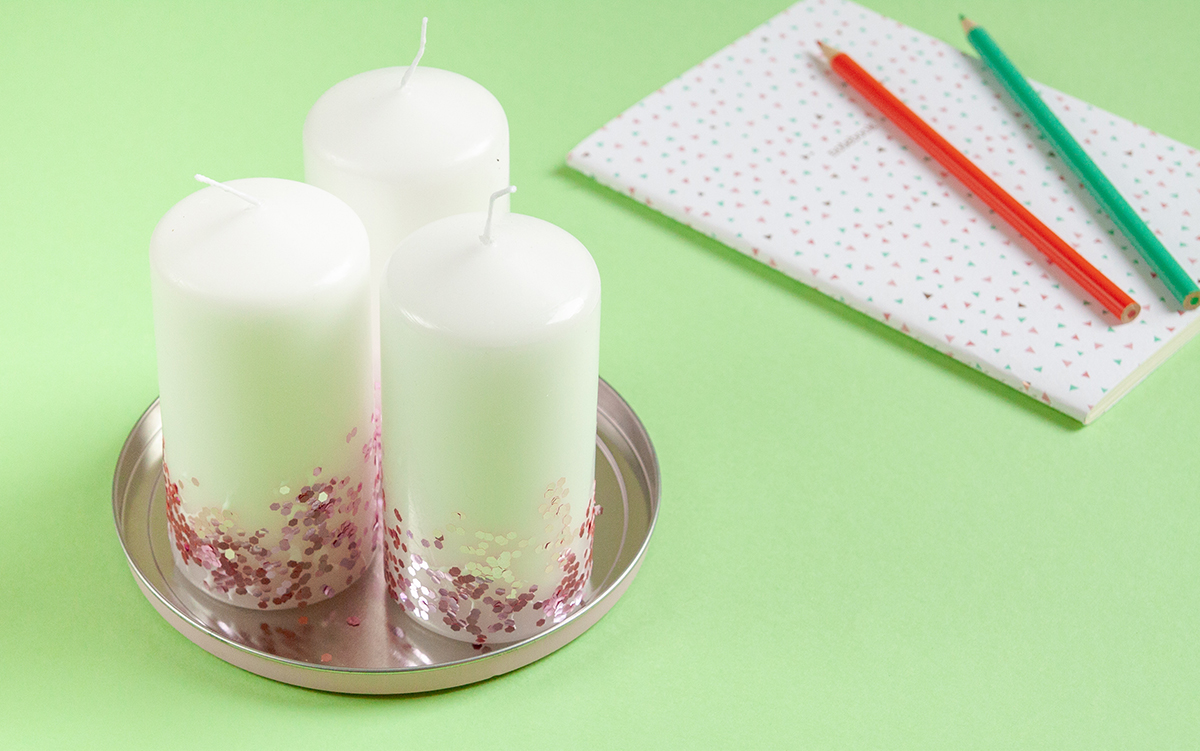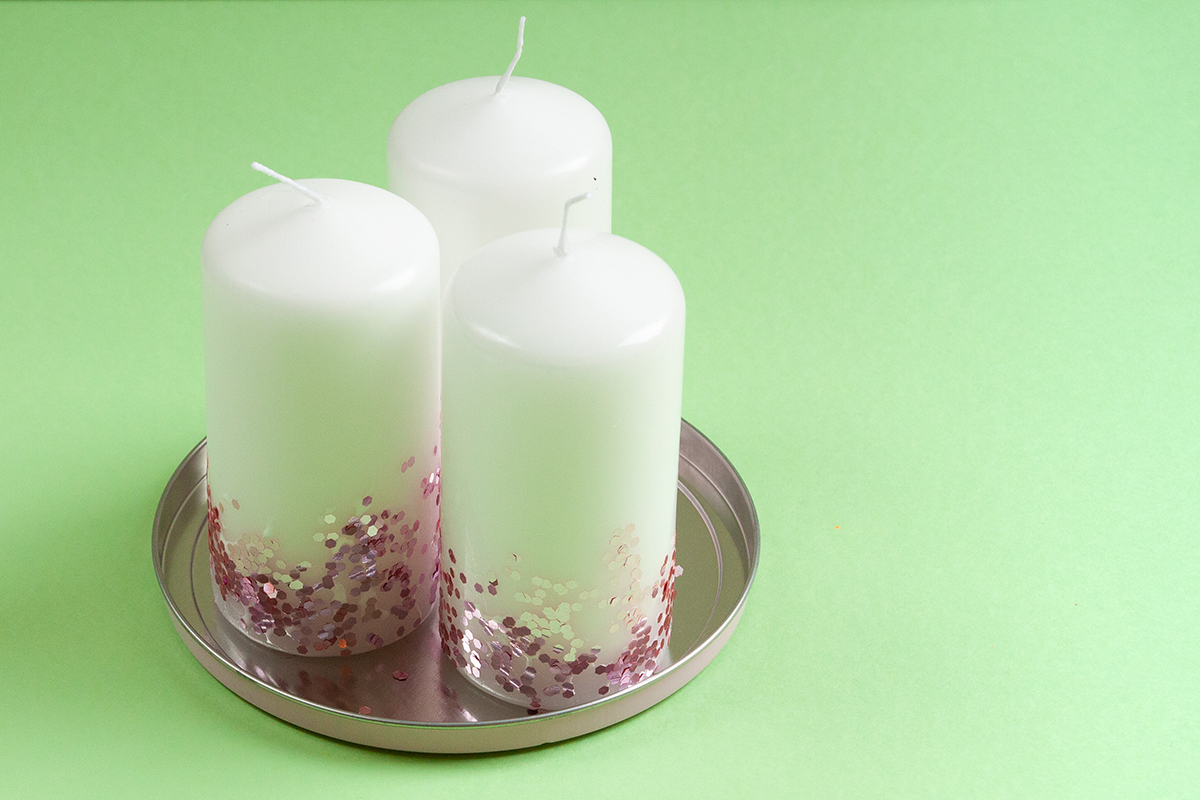
I have seen so many of them lately popping up on my daily (or is it hourly?) Pinterest stroll, I just knew we had to learn how to make glitter candles ourselves. Just as we thought, these are really easy to make and they look amazing. So you really should give this one a try!
The simplicity of this DIY makes it a great starter project for anyone who is trying to get their creative groove back. They would make amazing little handmade presents for any candle lover out there. Or you could display them in your own home to add a little bit of spark. Really, there is no good reason not to try making these. To learn how to make glitter candles, read on…
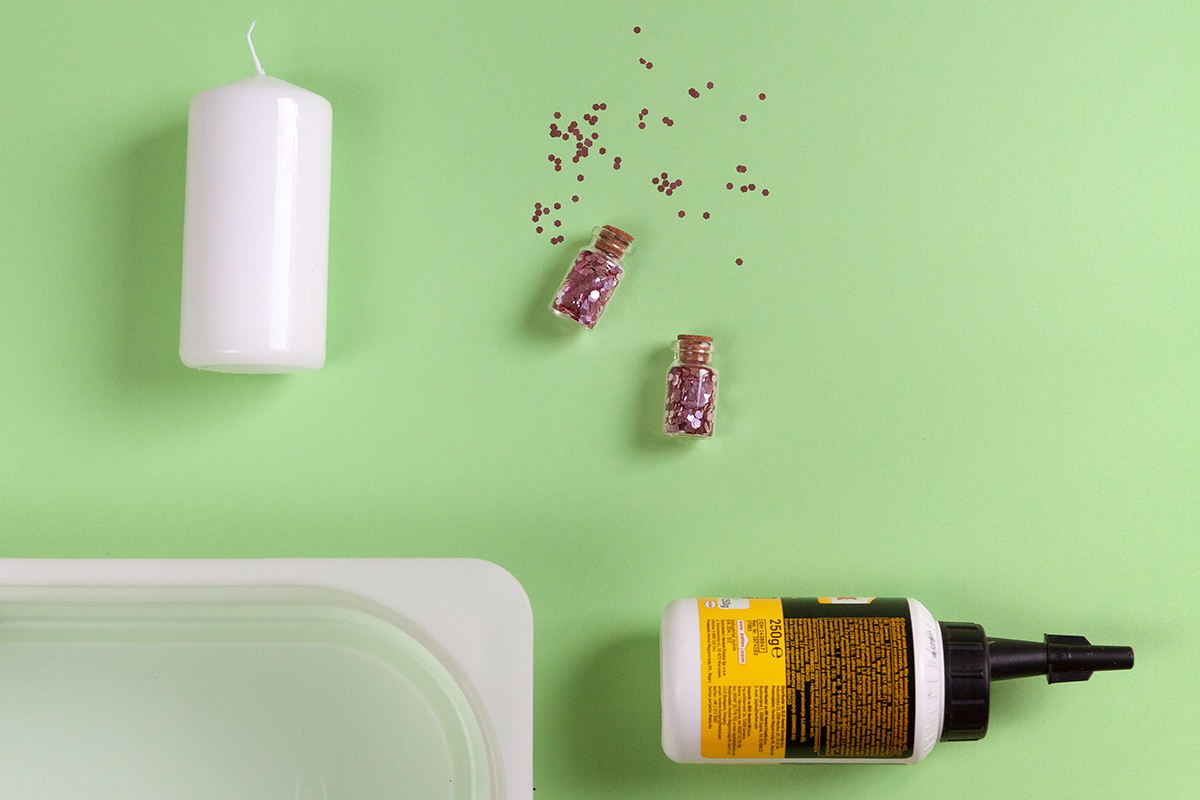
To make these lovely glitter candles you will need:
- White candles
- Glue (a decoupage glue like Mod Podge or a simple wood glue work well)
- Glitter flakes
- A plastic container (you DO NOT want glitter all over your house)
Let’s make this!
We recommend you do this whole process over a plastic container. This will make clean-up a lot easier.
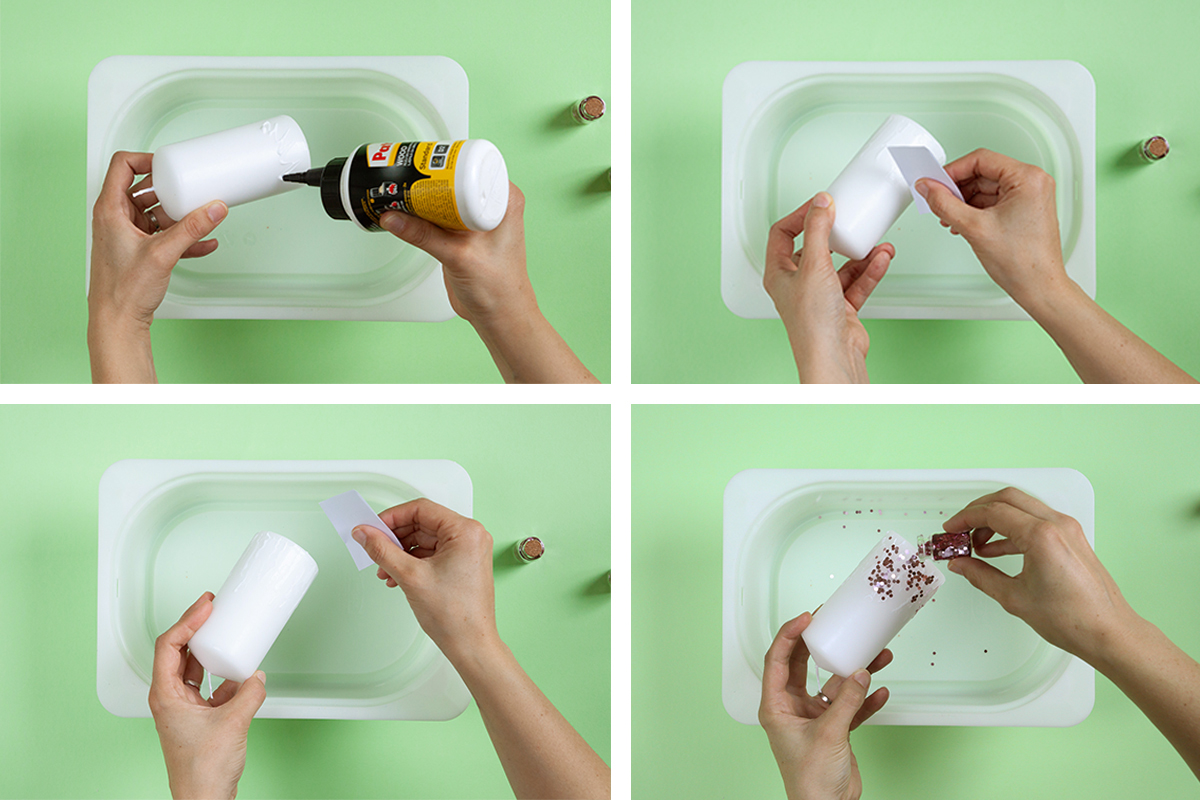
1 Take your candle and paint glue on the bottom third. You can apply glue directly to the candle and spread it out with a little piece of paper (like we did). Or, you can use a brush to paint the glue. You don’t need to be super exact.
2 You will probably notice the glue starts to ‘shrink’ as it dries on the candle. It doesn’t really like the waxy surface, but that’s not a problem. Even with the glue ‘shrinking’ there will be more than enough left for the glitter to stick to.
3 Now carefully sprinkle the glitter over the glue. There should be a little more glitter on the bottom part of the candle and less and less of it as you go up towards the wick. You can gently press the glitter onto the candle if you see any that is not well glued. And that is it! You can now repeat with as many candles as you like.
4 Let it dry for about an hour, until the glue on the candle has become completely translucent.
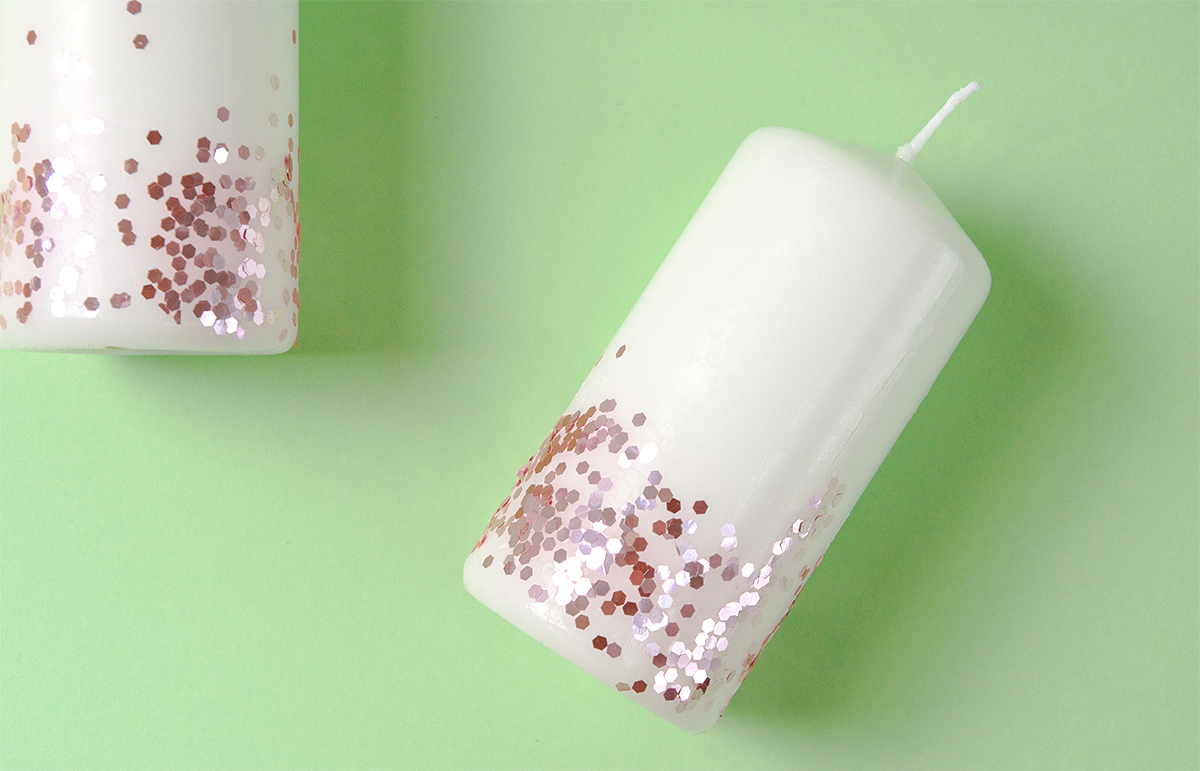
Yaay! Now that you’ve learned how to make glitter candles, it’s time to find some glitter and start making!
