

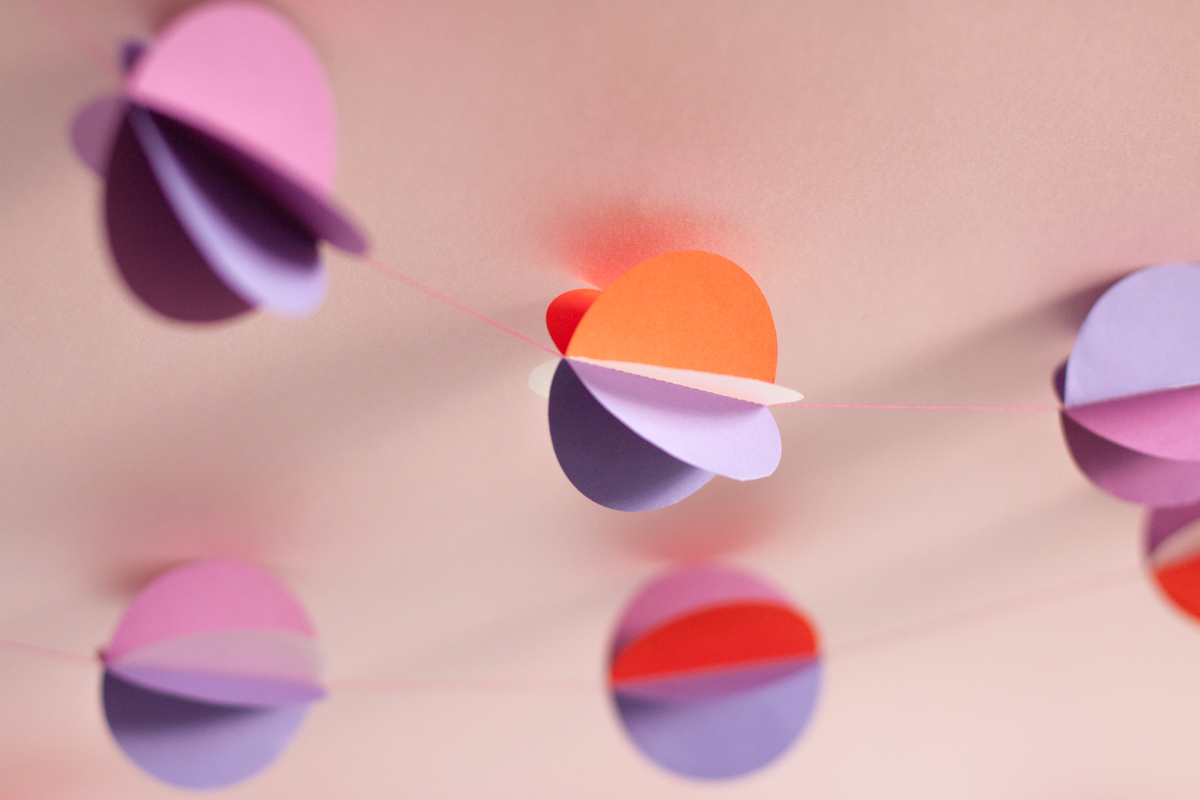
This colorful 3D paper circle garland is pretty easy to make and make a beautiful decoration both indoor and outdoor. Depending on the colors you use, you could make these for holidays as well (think red and green for Christmas or black and orange for Halloween). Or you could simply use your favorite color combo and make it just for fun as we did here!
The first time we made this 3D paper circle garland was for a very special event, my wedding. They were easy enough to make, so we could make yards and yards of them. We hung them up on trees in our backyard, where part of the reception was held, and I remember my grandmother commenting those were the prettiest apples that had ever grown there. You can probably imagine this is a very special DIY to me, and I am super excited to share it with you today.
![]()
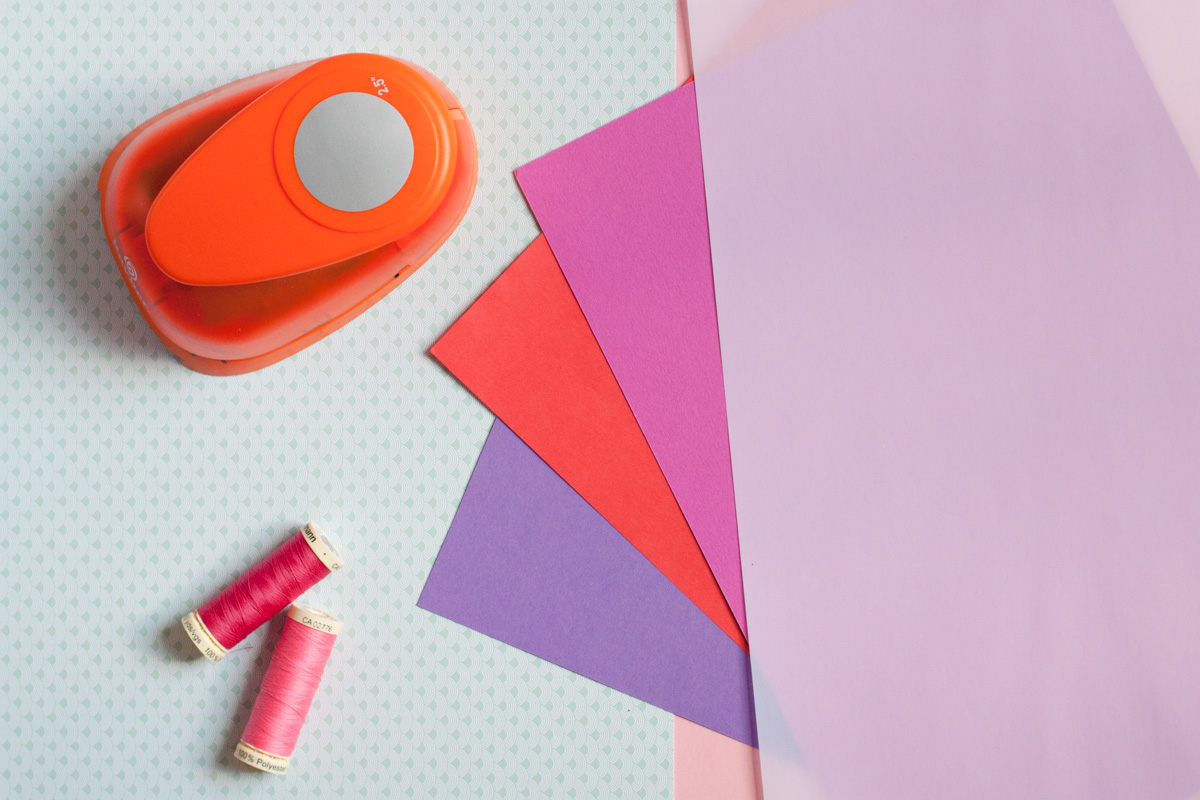
To make your 3D paper circle garland you will need:
- Colored cardstock paper
- White tracing paper
- 2,5″ circle paper punch
- Thread
- Sewing machine
![]()
Let’s make this!
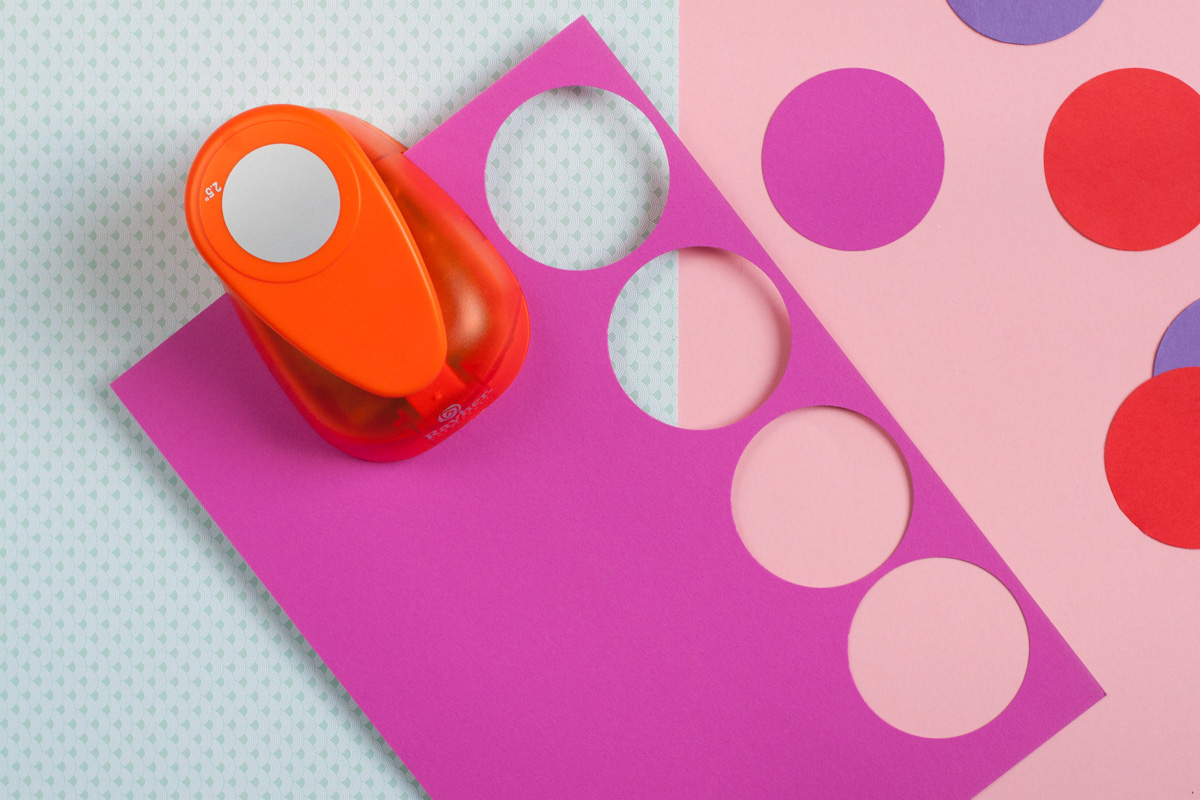
First, cut out your cardstock and tracing paper circles. The number of circles you will need depends on the length of the finished garland. You will need three circles for each bulb, so cut accordingly.
When you have all your circles prepped, it is time to start sewing. Stack three circles together and begin sewing straight through the middle of the stack using your normal straight stitch.
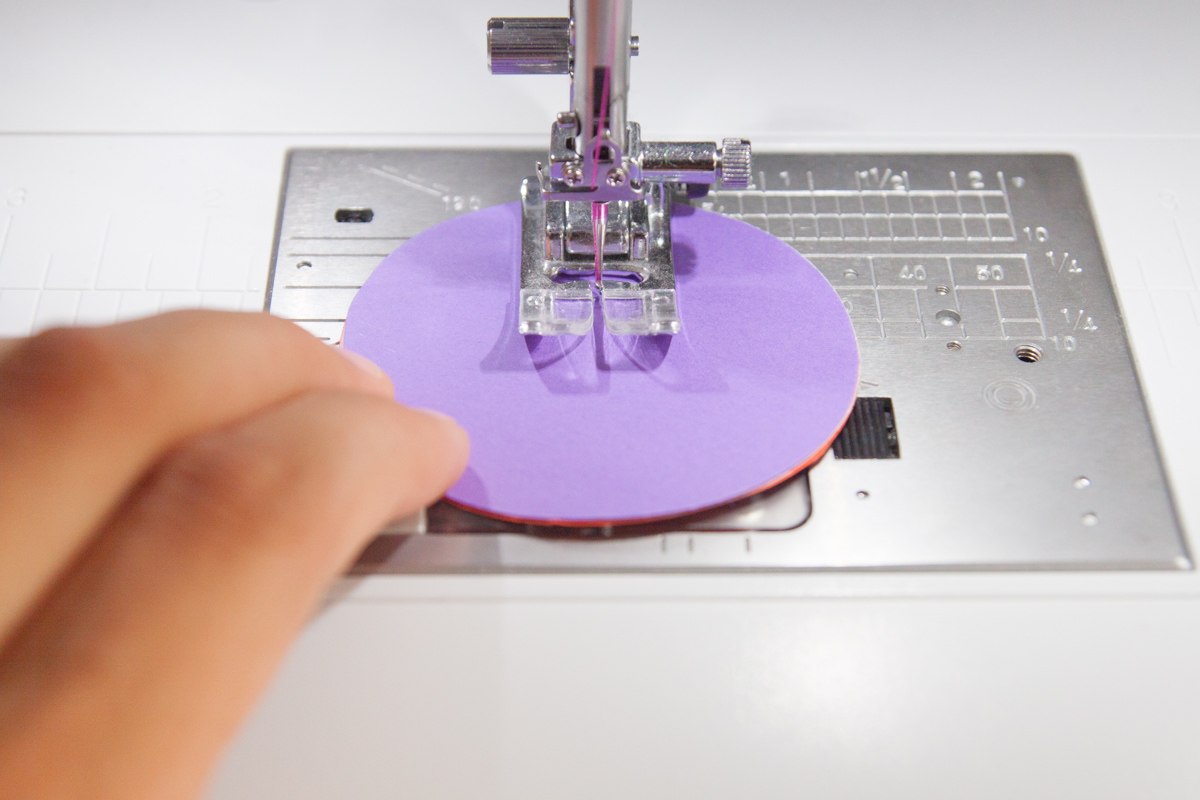
When you sew all the way through the stack, continue sewing (with nothing under your presser foot), forming a thread chain. If you want your bulbs closer together, make the chain short, if you want them further apart, make it longer. We made ours around 3 inches. Now repeat these two steps until you run out of thread (or paper circles)  .
.
As you sew, make sure you lay your sewed circles neatly behind the sewing machine, so the thread does not get tangled. And untangling them can be close to impossible, take my word for it.
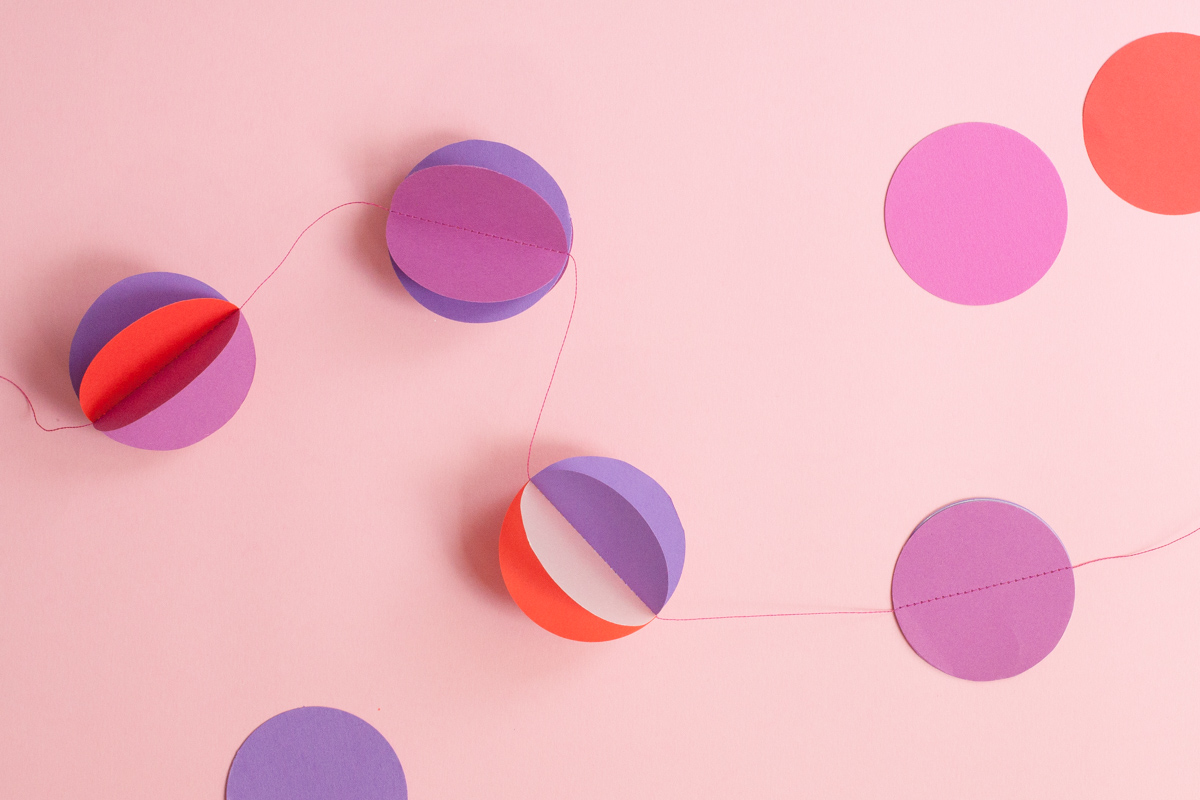
After you have sewn all your circles, it is time to add some dimension to your garland. Just open and fold the paper circles around the thread and voila – you have a bulb! Do this along the entire length of the garland.
![]()
And now all you have to do is hang it up and enjoy your masterpiece!
Comments are closed.